
If you have never sharpened a knife, Jacob recommends the Beginner set. Learn to hold a consistent angle, and to form, reduce and remove a burr, before adding more stones. Once you are comfortable with that process, the Chef / Intermediate set adds the 1000 and 3000 resin stones. Jacob finishes most of his own knives at 3000 resin, then strops. The Professional set adds 6000 and 12000 for further finishing, including polishing after thinning.
Use this guide to choose a kit or decide which individual tool you need. For the sharpening movements, use the demonstrations from Jacob's Sharpening. Check what you already own before buying another complete set.
1. Check the knife first
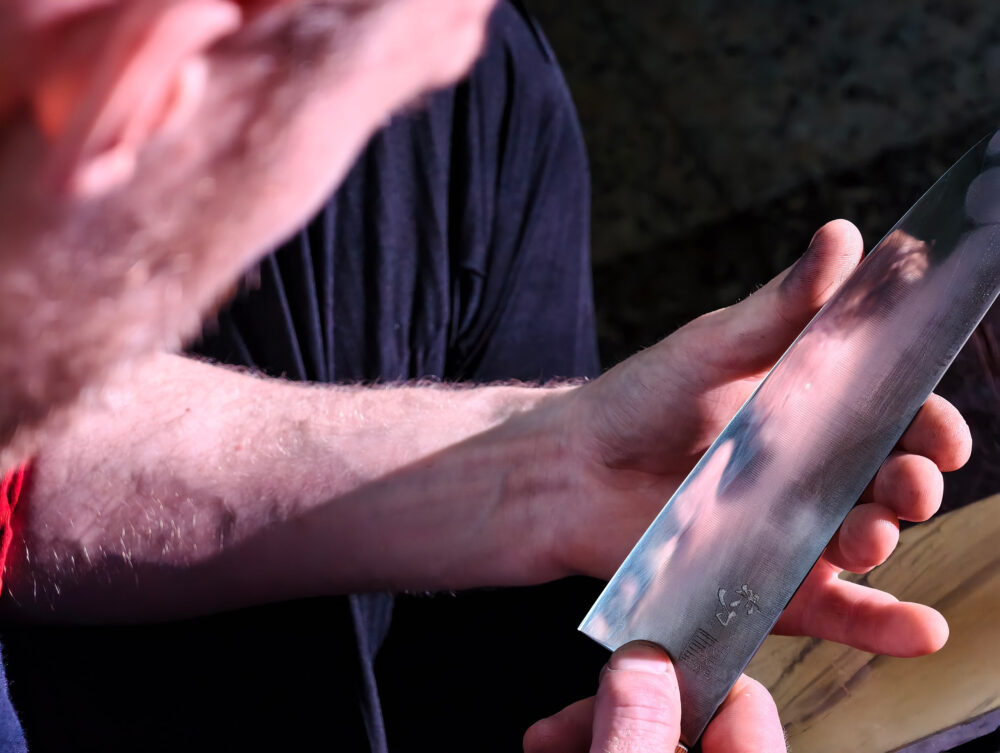
Find the maker's sharpening instructions. Check whether the edge is plain or serrated, and whether the blade has a bevel on one side or both. Use the angle specified for that blade. If none is given, send Jacob the model or a photograph before choosing one.
Look along the edge without running your finger over it. A knife that has gradually stopped cutting well presents a different job from one with a visible chip or broken tip. If it is damaged, ask for an assessment before choosing a repair method or stone.
Serrated knives and traditional blades with a single bevel need instructions for their particular edges.
2. What the tools are for
Scroll sideways to see the full table. With a keyboard, focus the table and use the arrow keys.
| Item | What it does |
|---|---|
| Sharpening stone or diamond plate | Removes steel to form or refine the cutting edge. The appropriate surface depends on how much work the edge needs. |
| Stone holder | Holds the sharpening surface securely while you work. It needs to fit the stone. |
| Angle guide | Helps establish the blade's angle against the sharpening surface. Its fit and angle still need to suit your knife. |
| Leather strop and diamond paste | Used for finishing the edge after the stone work. They do not replace the work needed to repair a chipped edge. |
Riceknife's plated diamond abrasive has a diamond coating on a metal base. Its resin bonded stones hold diamond grains in resin on a composite base. The grit labels alone do not establish the same finish or make the products interchangeable.
3. How Jacob uses the tools
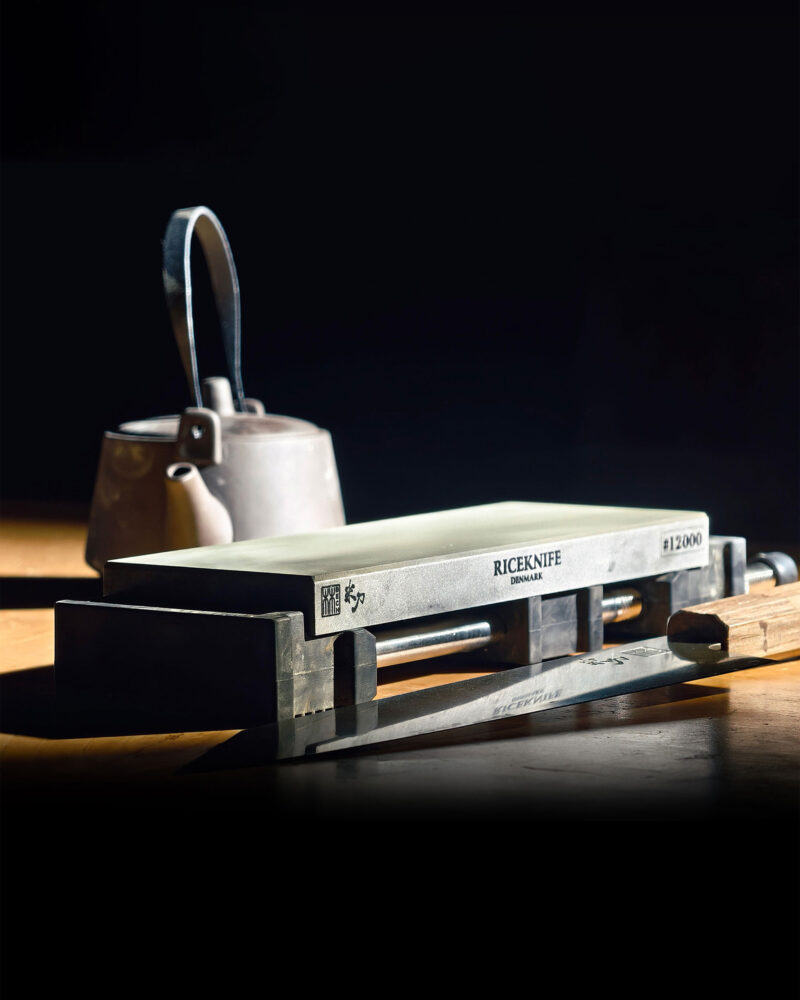
Jacob's method separates the work into forming the edge, refining it and finishing on leather. In his advice for this guide, he stresses finishing each stage before moving to the next. This is a summary, not a complete sharpening lesson. Follow the demonstration and the preparation instructions for your tools.
- Shape the edge when needed. Riceknife's Beginner instructions use the 250 plated diamond abrasive for shaping, followed by 1150 to refine the scratches and reduce the burr, the small lip of metal formed at the edge during sharpening. An edge does not need reshaping at every session.
- Refine where needed. Jacob's page describes refinement on a resin bonded diamond stone with lighter pressure and fewer passes. The Chef / Intermediate and Professional sets include these stones; the Beginner set does not.
- Finish on leather. Jacob moves the blade with the cutting edge trailing behind, rather than leading into the leather.
With Beginner, go from the plated stone to leather. You do not need the resin stage. Check your work along the heel, middle and tip, not just the middle of the blade. Use progressively lighter pressure to reduce the burr on the fine plated side, then use the strop to remove the remaining burr in Jacob's process.
Do not move to the next stone until the edge work on the current one is done. Moving to a finer stone will not automatically fix unfinished work.
Jacob finishes most of his own knives at 3000 resin, then strops. He chooses that finish because he likes its combination of sharpness, polish and durability in use. He may start at 3000 for a touch-up, or go from the fine plated side to 3000. The starting point depends on the edge's condition; not every session needs the full progression.
4. What changes between the Riceknife kits?
All three Riceknife sets include a dual sided plated diamond stone labelled 250/1150, a stone holder, a leather strop on a bamboo base, diamond stropping paste and an angle guide. The larger sets add resin bonded diamond stones.
Scroll sideways to see the full table. With a keyboard, focus the table and use the arrow keys.
| Kit | Sharpening surfaces included | What the set gives you |
|---|---|---|
| Beginner | Plated diamond 250/1150 | Jacob's starting recommendation for learning the process with fewer sharpening surfaces. |
| Chef / Intermediate | Plated diamond 250/1150, plus resin bonded diamond 1000 and 3000 | Further refinement once you are comfortable sharpening. Includes Jacob's usual 3000 finishing stone. |
| Professional | Plated diamond 250/1150, plus resin bonded diamond 1000, 3000, 6000 and 12000 | Additional finishing stages for experienced users, including polishing after thinning. |
Read the contents list separately from the teaching guide. All three product pages also show a Professional sequence that includes 6000 and 12000 stones. Only the Professional set contains those two stones. Jacob's Sharpening page groups the sets by how often you cook. His newer advice for this guide puts your sharpening experience and the job first.
Start with Beginner if you are learning
Jacob recommends this set because it gives you enough to learn the process without repeatedly switching stones. He considers it sufficient for most ordinary home kitchen knives when used properly. You do not need to buy the largest set to start sharpening.
Choose Chef / Intermediate when you want to refine further
The 1000 and 3000 resin stones are a useful next step once you can sharpen consistently. This recommendation also applies to home cooks. The word Chef does not mean you need a professional job to use the set. If you already have suitable accessories, compare buying the missing stones with buying another complete kit.
Choose Professional for a specific finishing job
Jacob's example is thinning a knife, then polishing the surfaces you have worked on. Thinning removes material behind the cutting edge. Repeated sharpening moves the edge back into thicker steel behind it. Thinning can restore a thinner cutting geometry, but it also leaves scratches. The extra finishing stones let an experienced user refine those scratches and work toward a more polished finish.
This is more involved than routine edge maintenance. It is not Jacob's starting recommendation for a beginner. The knife's construction and existing finish matter, so discuss a thinning job before attempting it on a blade you want to preserve.
The Beginner, Chef / Intermediate and Professional pages show the individual sets.
5. Watch the kit demonstrations
These are the Beginner and Professional videos linked from Jacob's sharpening page. They open on YouTube. Captions were unavailable when checked: Beginner on 23 September 2026 and Professional on 24 September 2026. The written notes below give Jacob's advice for choosing and using the kits; they are not full video transcripts. You can use the kit comparison without watching either video.
Beginner kit demonstration
Start here if you are learning with the plated stone and strop. Jacob's advice is to hold a consistent angle, complete the work along the whole edge, then reduce and remove the burr. Do not switch to a finer surface just because you have spent a few minutes on the first. For another view of the movement, his page also links a Beginner point of view guide.
 Watch Jacob's Beginner kit demonstration on YouTube
Professional kit demonstration
This video accompanies the larger set. Its extra finishing stones give experienced users more stages for work such as polishing after thinning. They are not a requirement for routine sharpening. The Chef / Intermediate demonstration is also available on YouTube.
 Watch Jacob's Professional kit demonstration on YouTube
6. Choose grit for the work
A coarse stone is intended for heavier material removal. A finer stone is used for a finer finish. Starting on the coarsest surface every time can remove material you did not need to remove. DMT's grit guidance explains these different jobs for its own diamond products.
Use this order when deciding what to buy:
- Identify the job. Is it routine sharpening, edge repair or an additional finishing stage?
- Check which surface the knife and abrasive makers recommend for that job.
- Buy the missing tool, if there is one.
Jacob's full Chef / Intermediate sequence can go from 250 and 1150 plated to 1000 and 3000 resin, then leather. The move from 1150 to 1000 is intentional in his process: these are different abrasive constructions, not directly interchangeable numbers on one scale. The Professional sequence printed on the product pages goes from 250 directly to resin 1000. These are two described progressions, not identical instructions. Ask Jacob which starting point and steps suit your edge if you are unsure.
Pressure matters too. Jacob reduces pressure as he finishes on the plated stone. This changes how it cuts; it does not change the size of its diamond particles. Science of Sharp's abrasion experiments illustrate why a grit label alone does not predict behavior under every condition. They are not tests of Riceknife stones.
Use the stages the edge needs. The larger kit is useful when you have a finishing job for its additional stones.
7. Prepare the stones and work surface
Set up on a stable surface with room to work. Check that the stone cannot slide and that your hands can stay clear of the edge throughout the movement.
Riceknife describes its resin bonded stones as splash and go. Follow the supplied preparation instructions for each abrasive rather than soaking everything in the kit. The plated tools and leather strop are different products and need their own care.
Maintenance is product specific too. A method used to flatten a waterstone is not automatically suitable for a diamond plate. For example, Shapton warns against using its lapping plates on electroplated diamond stones.
Common questions
Which Riceknife kit should a beginner choose?
Jacob recommends the Beginner set if you have not sharpened before. It contains the dual sided 250/1150 plated diamond stone, holder, angle guide, leather strop and diamond paste. Learn consistent angle control and burr removal before adding more stones. The 250 side is for work that needs that level of material removal, not a compulsory starting point for every touch-up.
Do all three kits include diamond paste?
Yes. All three include diamond stropping paste and a leather strop. Riceknife confirmed the paste inclusion on 23 September 2026; it is missing from the English product contents lists checked on that date.
Do I need the 6000 and 12000 stones?
Not for the Beginner process. Jacob finishes most of his own knives at 3000 resin, then strops. He recommends the Professional set's 6000 and 12000 stones for experienced users who want additional finishing options, including refining and polishing the worked surfaces after thinning.
Is the Chef / Intermediate set only for professional chefs?
No. Jacob recommends it as a useful progression for home cooks too, once they are comfortable with the Beginner process. Choose according to your sharpening skill and the work you want to do, not your job title.
Why is my knife still dull after using several stones?
One problem Jacob sees is moving to a finer stone before completing the work on the first. In his teaching method, check that you have reached the edge along the heel, middle and tip, then control and remove the burr. More stones will not compensate for an inconsistent angle or unfinished edge work. This is one possible cause, not a diagnosis of every dull knife.
Should I soak diamond stones?
Riceknife describes its resin bonded stones as splash and go. Follow the supplied preparation instructions for each product; this description is not a soaking instruction for the whole kit.
Do I need a complete kit if I already own some tools?
Not necessarily. List the holder, guide, strop and sharpening surfaces you already have. If they suit the job, compare adding the missing abrasive with replacing the whole setup.
What sharpening angle should I use?
Start with the knife maker's recommended angle and check that the guide suits the blade. If that information is missing, send Jacob the knife's model or a photograph before choosing an angle. The kit's guide is an aid to positioning, not a replacement for those instructions.
Can these kits sharpen a serrated knife?
Do not choose one of these kits on the assumption that its flat stones are the right tools for your serrated knife. Riceknife's published kit instructions cover plain edges and do not describe sharpening serrations. Follow the knife maker's instructions or ask Jacob about the particular blade. DMT, for example, describes a separate tapered diamond tool for serrated edges.
Ask Jacob about your setup
Tell us which knife you have, whether it is dull or damaged, and which stones or strop you already own. A photograph can help explain the question. You do not need to choose a kit before asking.
Sources and product checks
Product contents were checked against Riceknife's English and Danish product listings on 23 September 2026. Riceknife directly confirmed that diamond paste is included in all three sets. The English contents lists checked on that date omit it. Paste grade and quantity are not specified here.
Jacob supplied his kit recommendations and personal finishing preferences for this guide through two audio transcriptions received by Riceknife on 24 September 2026. Those recommendations are paraphrased here. They are not controlled product tests or promises of an identical result for every user.
The method reference, photographs and demonstration links come from Jacob's Sharpening. The kit product pages establish the listed contents; Jacob also confirmed the dual sided plated stone in his answer. The DMT and Shapton references explain their own products; they are not instructions for Riceknife stones.